
Hi everybody,
Today I have a super fun project to share that was entirely inspired by my son, Bryce. He loves his Legos and been collecting Lego Mini-Figurines (Minifigs) for about a year now. He loves those little mystery ones in the foil pack but has some more rare ones too. Anyway, he wanted a way to store his minifigs so that he can see them, but still take them down and play with the occasionally. :)

This project was inspired by an Etsy item I found, I'll include that link at the bottom of this post in case the project is a little too involved for you (or the Lego Lover in your life). Okay, on to the project.
You'll need the following supplies:

- a shadow box, either store bought, or thrift-store find like we did ($2 each @ Value Village)
- Spray paint for your frame - if it was a thrift store find or you'd like to change the color
- the backer for your frame (or wood, cut to fit, if needed)
- Spray paint for the backer board
- 2x2 Legos in the color of your choice (we used 42 of these found on Ebay)
- Saw-tooth picture frame hangers
Since we found our 16" x 20" frames for $2 at Value Village, we needed spray paint to make them match the room they are going to be living in. In my son's case, we are painting his room right now, and he is WAY into orange, so we went with an orange backer, orange Legos and a black frame. Three coats of black paint and the frames were good to go. :)

We cut our 1/4" birch plywood to fit the inside of our frames and sprayed them with Island Orange by Valspar. Here, Bryce is modeling how well it matches his orange shirt. :)

Next, we used painters tape to attach the template we made for the Lego placement. I used an Exacto Knife to cut all the rectangles out so I can glue the Legos into place with the template attached. It worked out perfectly. Yeah! :)
If you'd like to download my template, it will be added to the bottom of this post.

Here you can see how I placed the Legos on their side into the template holes.

See, they went in perfectly. So easy.

Here is the backer board, all the Legos in place... gotta love that shiny finish too.

And this is the backer board mounted inside the newly painted black frame....

.... and loaded up with Bryce's favorite Lego minifigs. I have most of the supplies to assemble a second frame for Bryce's collection. I just have to get ahold of some more orange 2x2 Legos.

I just love how the Legos blend in to create the effect of the minifigs floating in the frame. Just perfect.
Here is the Etsy store that inspired us to create our own minifig storage frame.
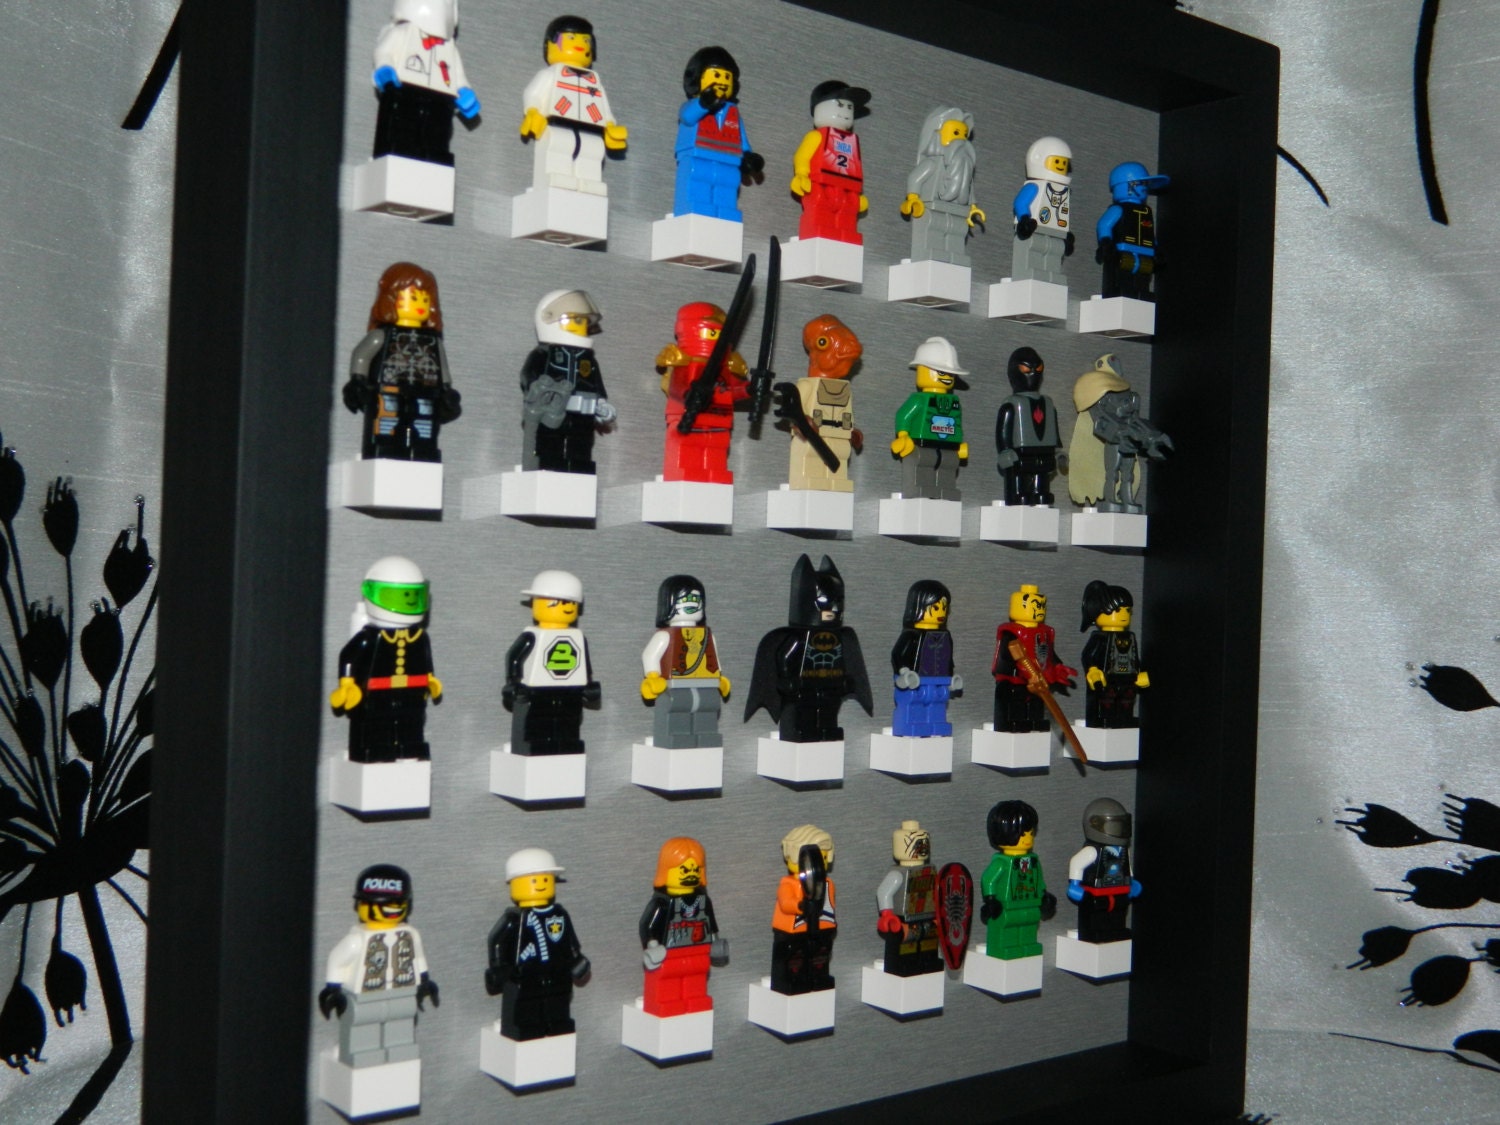
This one is wonderful and all, but for $25.99 plus $12.00 shipping (for a total of $37.99), I knew I could do better. Our frame cost us only $13.50 to built... and ours store 42 minifigs while the Etsy one stores 28.
And last but not least, here is my template for the Lego placement on a 16"x20" backer board. It can easily be altered for a smaller frame too.

To save the template, click on it to open it in full size, then just right click to save it.
Just print the file onto multiple sheets and then assemble to become a full size template. The directions will print directly on the template.
Enjoy! Please feel free to link to this page to share your creations too. I'd love to see them. :)
2 comments:
WOW! That is pretty awesome!
Wow......I wish I'd seen this idea when my kids were young, Fabulous!
Post a Comment