Showing posts with label Give a Hoot. Show all posts

Tuesday, May 10, 2011

Tall Doggie Card

If you haven't yet, take a little time to craft a card for the challenge over at Paper Playtime! :)  The theme this time is to make a TALL CARD (9" x 4" card base).  Although I can't enter (because I'm on the DT),  once I got started on the tall card, I had to try it again! :)

I made this birthday card for my twin sister (her bday is May 24th).  She is a doggy trainer so I thought this card would be perfect for her.  I got the paw print border from Give A Hoot (I welded two of the borders together to fit the full 9" card base).

The doggy is from Paper Pups (cut at 3 1/2"). I colored a rhinestone black for the eye. He is mounted to the card with pop dots.

I heat embossed the sentiment (from Hero Arts, Big Hugs stamp set) with black embossing powder and added three black buttons above the border. I tied white craft twine through the button holes and coated the knots with clear nail polish to prevent fraying and loosening. I used Studio G glitter glue to give the paw prints sparkle.

The background paper is from Cloud 9's pet pack. I added another stamp from the Hero Arts, Big Hugs set to the inside of the card. I also used my white gelly roll gel pen to add stitches on both the card front and inside.

Challenges:
post signature

Thursday, April 14, 2011

Easter Basket


If you haven't yet, please take a second to enter my 400 follower giveaway!

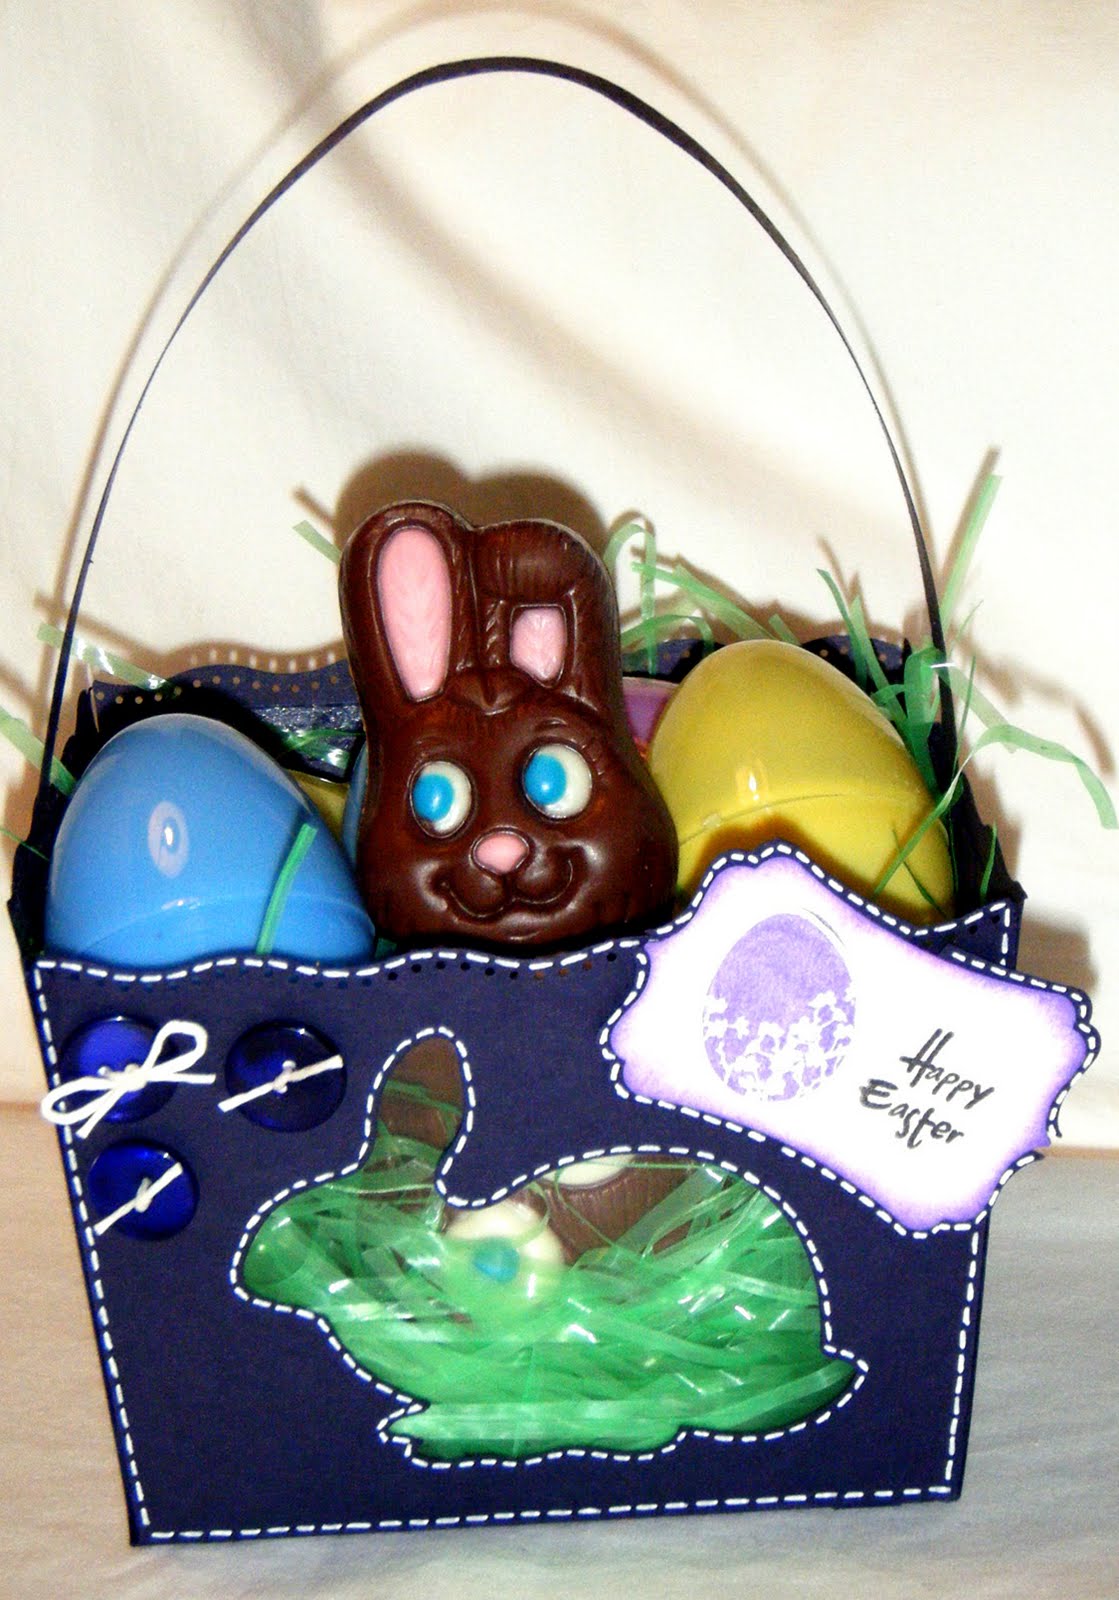
I have a cute little Easter Basket to share today!! I actually used Sweet Treats to make this 6"x6" basket. It required only one cut on my Cricut, one border punch and one sentiment block punch.
I used the very first image from the Sweet Treats cartridge, using the cupcake wrapper function key. I cut it at 11 1/2" (as large as I could on the 12" x 12" Cricut mat). I added the bunny from Give a Hoot (cut at 2 1/2"). I also cut a 11 1/2" x 1 1/4" strip of paper for the handle and two 3 3/4" x 3 3/4" pieces to reinforce the bottom of the basket as well as two 3 1/2" x 1 1/4" pieces to reinforce the handles.

Here is the Gypsy file for the project if you'd like to make your own:
Bunny_cupcake_box.gypsy on 4 Shared

I used an EK Success punch for the top edge of the basket and the handle.  The punch is called "Dotted Wave." I also used another EK Success punch for the label (Journal Plate). The sentiment is from Close to my Heart, and the stamped egg is a Studio G stamp. I added three little purple buttons tied with white twine.

I went totally crazy with the Gelly Roll white gel pen!! :)  I really love the white pen on the dark colors! I used my MS scoreboard to score the basket, then I added the gel pen stitches before I assembled the basket.

For the little bunny window, I glued a piece of acetate (actually I used the plastic packaging that the Cricut Cartridges come in) to the inside of the basket. Then I used Sticky Strip to assemble the box.

After I reinforced the handle, I attached them with a little purple brad. Here you can see how I used the Dotted Wave border punch to decorate the handle of the basket too.

I popped the Easter egg up on Pop Dots. I punched the tag twice, once in white and once in purple. I cut the purple into quadrants so I could arrange them like a shadow on the sentiment tag. I inked the tag in Rio Purple with my finger dauber.

Ha ha, look at that yummy  adorable chocolate bunny peeking out of the basket!
I added some clear nail polish to the knots on my little twine bows.  I find that my twine loosens a bit so I drop some nail polish to hold it nice and tight.

There is lots of room for treats in this mini basket.  If you choose not to add Easter grass you could even decorate the bottom of your basket.

Just in case you missed it, here is the Gypsy file for this project:

You can easily re-purpose this project for a gift bag,  treat bag or packaging for handmade cards, etc.

Challenges:
post signature