Showing posts with label Fabulous Finds. Show all posts

Thursday, October 31, 2013

Happy Hallowen!!

Hi, and welcome to the Creepy Cricut Creations Blog Hop!!


 If you've come from Lori at Scrappin' My Stress Away, you are in the right place! If you just came across the hop, please start at the beginning over at Jenny's Blog, Crazy About Cricut.

 I absolutely LOVE crafting with my boys... so they sure helped out on this one! They love being involved and I enjoy the special time with them too.

My boys and I created this deconstructed witch wreath. They love it, we had a great time and it's now proudly displayed next to our front door. 


We stared with the following:
an 18" grapevine wreath
a fall leaves garland
some fall themed wired ribbon
a set of Halloween mini lights
a Glittered witches broom (from Joanns)
Cricut Cuts to decorate the wreath


My boys wrapped and wrapped. First we added the fall leaves garland, then the Halloween lights and then the wired ribbon. We used a little crafting wire to attach the decorations to the wreath when needed. We also wired the broom to the wreath (fyi: we sprayed the glittered broom with cheap-o Dollar Tree hair spray to keep the glitter from falling off).


Here are the cuts we decided to add to our wreath:
A witch hat from Paper Doll Dress Up
(cut at 8" wide)
Witches Shoes from  Paper Doll Dress Up
(cut at 3")
Happy Halloween from Holiday Cakes
(cut at 3")
Witches legs 
cut at 1 1/2" x 5" (we added alternating colored stripes)
Buckles from Fabulous Finds
(cut at 1")

We then ran our witch's pieces through our laminator (to protect them from the elements) and hung the wreath outside - it's under our deck but it doesn't hurt to protect our paper pieces.

  1. Jenny - http://crazyaboutcricut.blogspot.com/
  2. Lori - http://scrappinmystressaway.blogspot.com/
  3. Cheryl - http://cardsbycg.blogspot.com/
  4. Wandy - http://greenapplescrapper.blogspot.com
  5. Heather- http://paper-junkie.blogspot.com
  6. Sarah - http://sarahvaitstamps.blogspot.com
  7. Tracy - http://lovesbuggin.blogspot.com/
  8. Carol - http://www.workmanscraps.com
  9. Elizabeth - http://www.ejoym.blogspot.com
  10. Amanda- http://amandascraftsandmore.blogspot.com/
Your next stop will be
 Wandy at Green Apple Scrapper!

Thursday, October 27, 2011

Witchy Wreath

Today is another wonderful Thankful Thursday Design Team Day over at Crazy About Cricut.  The whole reason for Thankful Thursday is to encourage crafters to get their kids (or the kids in their lives) and craft away!! I absolutely LOVE crafting with my boys... we always have a terrific time!!

The theme this week is: Halloween Home Decor

My boys and I created this deconstructed witch wreath. They love it, we had a great time and it's now proudly displayed next to our front door. 

We stared with the following:
an 18" grapevine wreath
a fall leaves garland
some fall themed wired ribbon
a set of Halloween mini lights
a Glittered witches broom (from Joanns)
Cricut Cuts to decorate the wreath

My boys wrapped and wrapped. First we added the fall leaves garland, then the Halloween lights and then the wired ribbon. We used a little crafting wire to attach the decorations to the wreath when needed. We also wired the broom to the wreath (fyi: we sprayed the glittered broom with cheap-o Dollar Tree hair spray to keep the glitter from falling off).

Here are the cuts we decided to add to our wreath:
A witch hat from Paper Doll Dress Up
(cut at 8" wide)
Witches Shoes from  Paper Doll Dress Up
(cut at 3")
Happy Halloween from Holiday Cakes
(cut at 3")
Witches legs 
cut at 1 1/2" x 5" (we added alternating colored stripes)
Buckles from Fabulous Finds
(cut at 1")

We then ran our witch's pieces through our laminator (to protect them from the elements) and hung the wreath outside - it's under our deck but it doesn't hurt to protect our paper pieces.

Please jump over to Crazy About Cricut and take a look at what Jenny and the other Thankful Thursday Designers have come up with for the  "Halloween Decor" theme.

Challenge:

Friday, August 12, 2011

CAS hearts thank you card


I love this super simpe card I made today.  It really only has a few elements, but the clean and simple concept sure is hard for me!  This card measure 4 1/4" x 5 1/2", the black mat it 3 3/4" x 5" and the white mat is an 1/8" smaller all around.  That's all the layers...


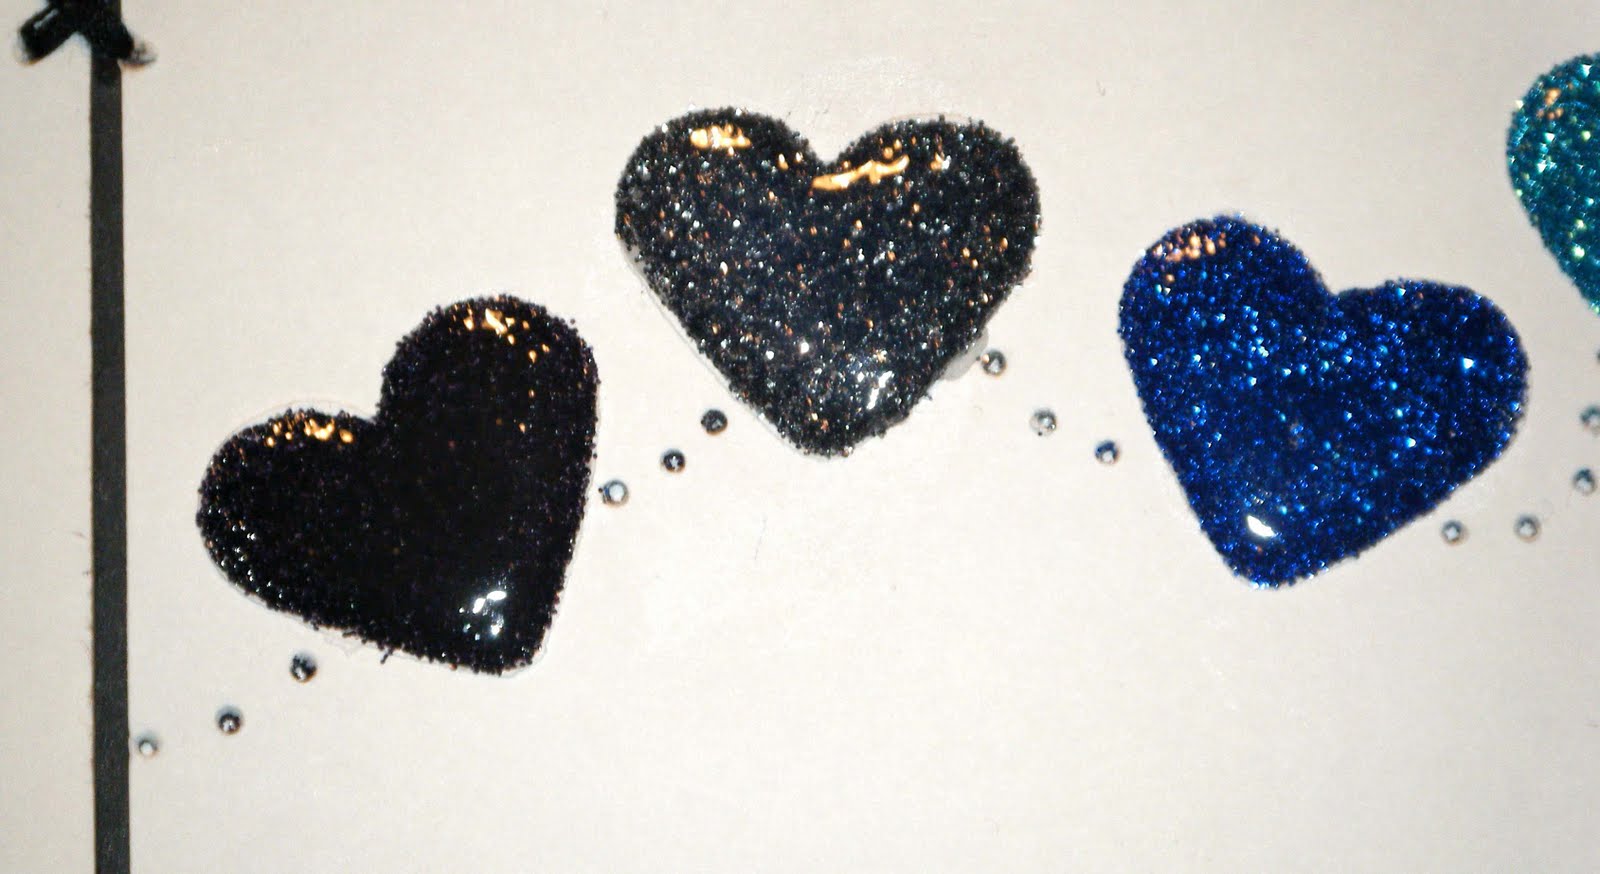
These little hearts were cut from Fabulous Finds (retired cart) at 3/4" in white.  Then I attached them to the white layer with quick dry glue, stamped the sentiment and went to work.  I used a paper piercer to poke the little heart trails and a few holes in between the two stamped sentiments. I also poked the holes for the little "x"s that I used to attach the black and white mat to the white card base.


Then I applied Glossy Accents to one heart at a time, then sprinkled fine glitter over each heart.  I used the little packs of four colors that Michaels carried last Christmas. After the GA dried, I added a second layer to seal the glitter into the heart... making for a wonderful dimensional element. 


I used just a little ATG glue to secure the black and white mat to the card base and hand stitched the "x"s.  Some of them are a little rough looking, not perfect etc... but it's homemade... it won't be perfect every time.


I love this sentiement.  It has this wonderful curve I tried to mimic with the hearts.  I have no idea who made the stamp, I found it with out packaging in Joann's as-is department... a 15 piece stamp set for 75 cents.


I kept the inside very simple too... just adding a second stamp from the set.