
This weeks theme is:
-pick your favorite fall colors-

I created this Fall Scene Card today. I've been a little of a creative funk...I really hope this might help me out of it. The card base is 5"x7" to get plenty of room for my scene. All the paper is from scraps! :)
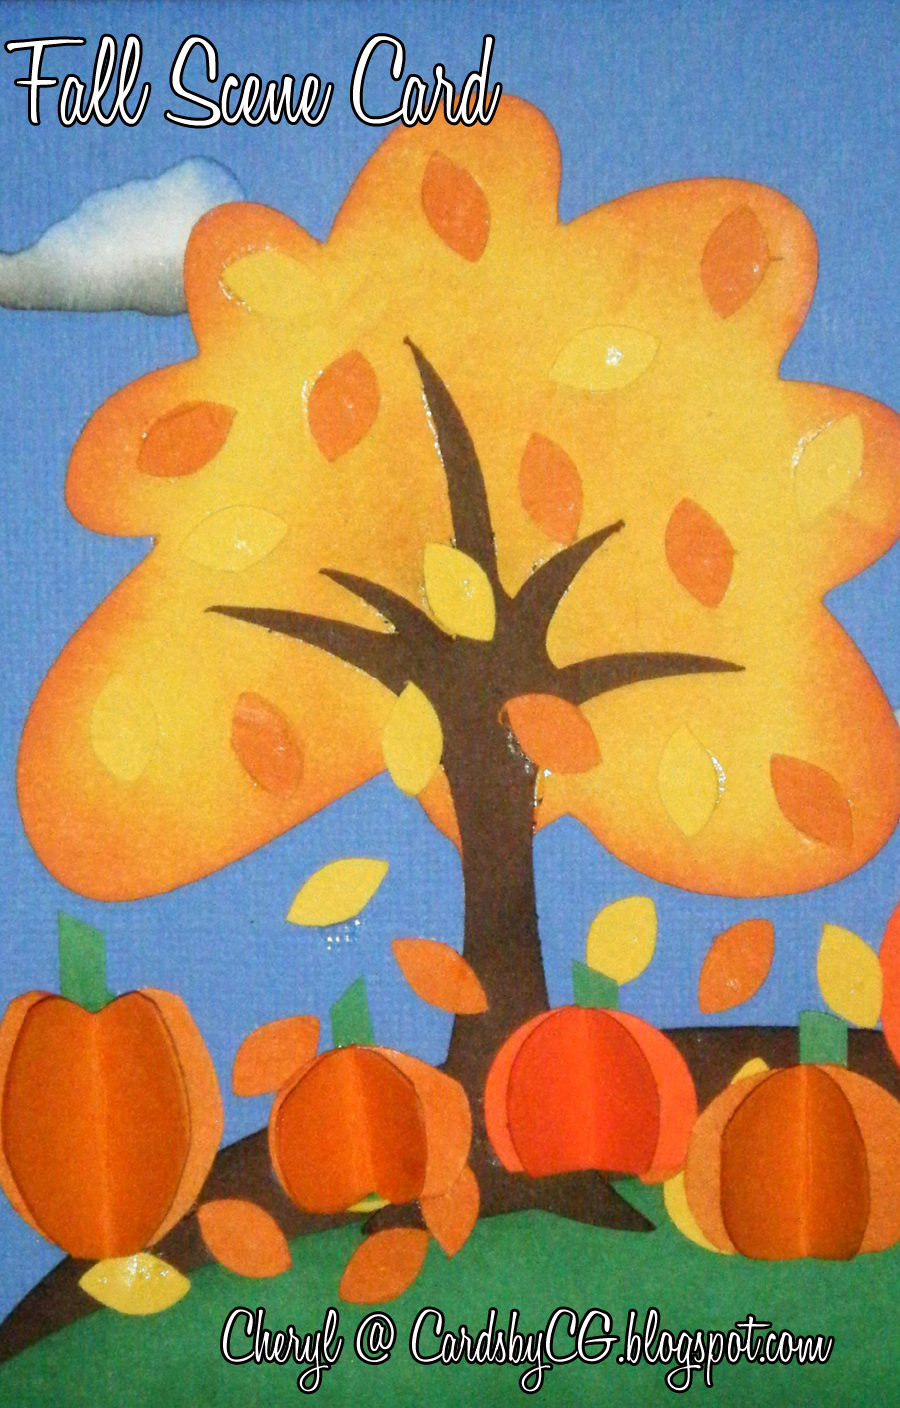
This tree came from Everyday Pop Up Cards, cut at 3 1/2". I cut the base in yellow and using ink and a finger dauber, I tinted the outside orange to create this wonderful fall color! I cut leaves from Serenade in both yellow and orange and glued them randomly around under the tree.

The clouds are from Serenade as well, cut in random sizes from 1/2" to 2". I inked the clouds with blue and then with black on the bottoms. I don't know about everywhere, but here in Washington, it's super rainy in the fall and the clouds are gray... threatening to pour. The sentiment is printed using "Peanuts" font at 18 points.

I created this super fun pumpkins by using circle punches. I just love this simple dimensional element method and I thought it would work on pumpkins too. I punched three of each circle, folded them in half and glued them together to create this form that can stand on it's own but fold down to mail. :)

These rolling hills are from Country Life (cut at 6 3/4" wide). I inked them before building my scene. The blue sky layer was inked too (using blue ink). I love the dimension on this card.
We'd love for you to come on over and play along with us at Die Cuttin' Divas!
This weeks theme is:
-pick your favorite fall colors-


