Showing posts with label Cartridge Chaos. Show all posts

Tuesday, June 21, 2011

Summer Scene Card

I love making shaped cards (as you'll know if you are regular visitor) but I like to look beyond the usual shapes for my inspiration. This card, believe it or not, is created by re-sizing a tag shape.
I love summer!! This would be a wonderful birthday card for someone special, but this one is going to a blogger who recently sent me some blog candy I won. :)

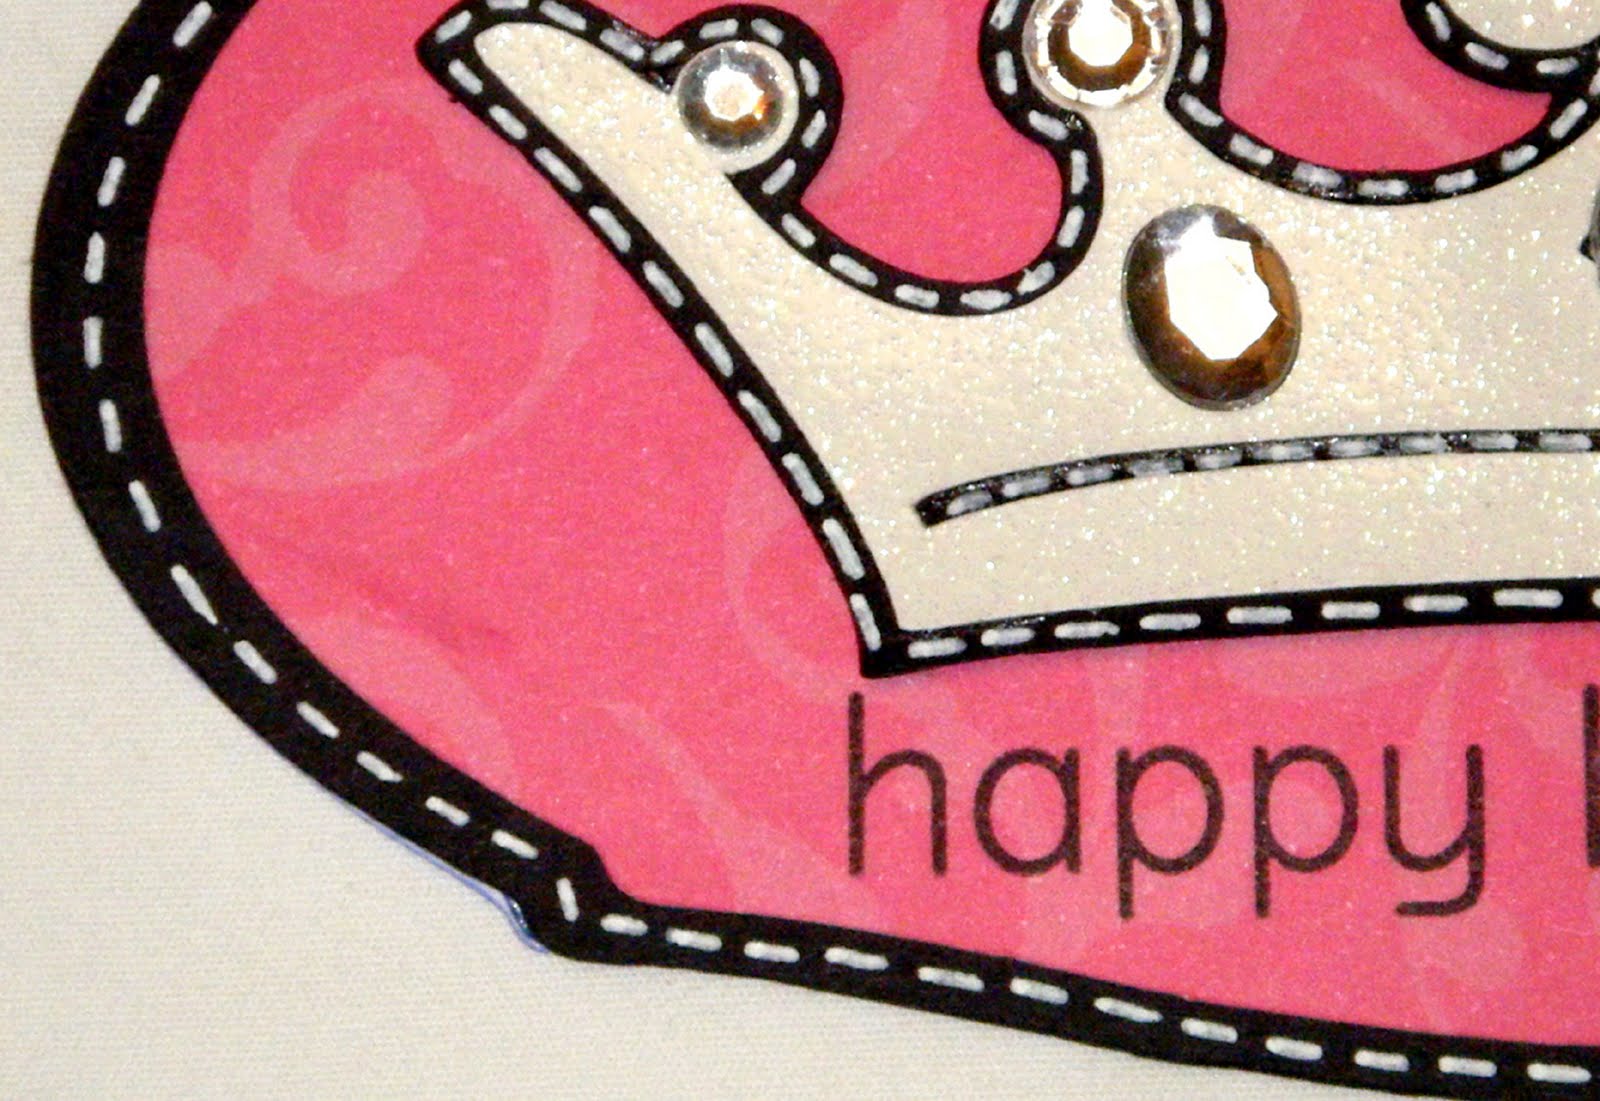
My little sentiment tag is hand cut to about 3/4" x 2". The stamp is from Scrappy Mom's Stamps. I mounted the tag up on pop dots and tucked the end under the tree just a little. I finished off the tag with some white gel pen stitches.

The sun is from Celebrate with Flourish, cut at 1 3/4". I added Glossy Accents to the center (it's still wet in the picture). The clouds are from Serenade, cut at 1" and 1 1/4". Both layers of the sun were inked with orange ink, on the clouds I used blue ink.

This tree is from Simply Charmed, all layers cut at 3 1/4". The grass is from Paper Doll Dress up cut at 1" and 3/4". The little bird is from Serenade, cut at 3/4".  I also used green and clear Glaze pens to add the details on the tree. I inked the tree and grass with green ink and the sky layer was detailed with the same blue ink I used on the clouds.

I hand drew the little daises with my white gel pen and added the centers with a yellow Glaze pen.

Here you can see the full card base.  I used Tags, Bags, Boxes and More cart.  This tag is from page 91 (button #10) using the mirror creative feature. I sized the base to 4 1/4" x 11". The front layers were sized down by 1/4" each. The black layer measures 4" x 5 1/4" and the blue sky layer measures 3 3/4" x 5".

Challenges:
Craft Junkie Too Friend


post signature

Wednesday, June 8, 2011

Mountain Scene Card

Hi everyone! I have a fun card to share with you today.  One of my favorite things about this card is that there are surprise moving pieces on the front. 

Here is the card front.  It's all put together here, it may look kinda ordinary, but there is a wonderful secret.

When you fold out the tree, you can see more of the mountain scene revealed. I cut the tree and all it's parts from Simply Charmed at 3 3/4".  Something special is how I made this card.  The tree is welded to the blue layer so that it all cuts together, making the piecing fairly easy.

Second, the picket fence folds out too.  Again, I welded the fence (from PDDU, cut at 1 1/4" two fences welded together) to the black mat. I cut the white fence and when pieced it makes a nice strong fold out layer.

This is the grass, fir trees and mountains from Paper Doll Dress up.  The mountains are cut at 5 3/4" wide, I cut a second layer to get the snow caps. The mountains are cut using gray shimmer paper (they look more subtle in person). The fir trees measure between 1/2" and 1". The grass layers are measured to 5 3/4" also. The little flowers are from Simply Charmed (with yellow liquid pearls centers) and the clouds are from CAC.  I added some inking around all layers and gel pen stitches around the black layer. Stardust Stickles adds the sparkle you see all over the card.

I added some matching blue and black mats to the inside. I added a Hero Arts stamp from the Big Hugs set and some white gel pen stitches.

Challenge:
post signature

Tuesday, May 31, 2011

Baby Brother Card

I just found out my cousin is welcoming his second little boy to this world in a few days.  I think it's wonderful, the age difference between his two boys will be very close to the gap in my boys! :) This card really reminds me of those times when my boys were little!

Here is the card I made for my cousin and his wife:
The card base is 4 1/2" x 5".  I grabbed the lace-up card base from New Arrival and hid three sides on my Gypsy to get the blue polka-dot base that laces on only one long side. I laced it with a sheer white ribbon and 1/8" satin blue ribbon after I tied the bow with my Bow Easy. The oval is also on the New Arrival cart.

I love these little feet from New Arrival, I cut them at 1" in generic white cardstock.  I inked the edges and popped them up on some pop-dots. I covered them in some Studio G glitter glue for a little sparkle.  I also added the glitter glue to the oval frame around the pencil drawing of the boys.

Here is a close-up of the bow. I placed a simple square button on the top.

I created this cute little banner for my sentiment.  The stamp is from Scrappy Moms. Again, I inked the edges with some blue ink and a finger tip sponge dauber.

I inked the inside too and added two more little (adorable) feet! :)

I adore the image I used.  I drew this back when my youngest was a newborn. I don't draw often anymore but I used to when I was in college.  This one took me some time! I was using a photo as my reference, the picture was taken when my now six-year-old was 4 days old. :)
I scanned this image and printed it on glossy photo paper for this card.

Cartridges used:
New Arrival

Supplies:
Studio G Glitter Glue
Blue ink and finger dauber
Scotch Quick Dry Glue
3M ATG glue runner
blue polka-dot paper is DCWV - Nana's Kids Stack
Blue gingham, Making Memories
sheer white ribbon - Dollar Tree
Blue satin ribbon - Michaels
Blue button - Michaels

Challenges:
Linking Party at : Passionately Artistic

Craft Junkie Too Friend


post signature

Tuesday, May 10, 2011

Tall Doggie Card

If you haven't yet, take a little time to craft a card for the challenge over at Paper Playtime! :)  The theme this time is to make a TALL CARD (9" x 4" card base).  Although I can't enter (because I'm on the DT),  once I got started on the tall card, I had to try it again! :)

I made this birthday card for my twin sister (her bday is May 24th).  She is a doggy trainer so I thought this card would be perfect for her.  I got the paw print border from Give A Hoot (I welded two of the borders together to fit the full 9" card base).

The doggy is from Paper Pups (cut at 3 1/2"). I colored a rhinestone black for the eye. He is mounted to the card with pop dots.

I heat embossed the sentiment (from Hero Arts, Big Hugs stamp set) with black embossing powder and added three black buttons above the border. I tied white craft twine through the button holes and coated the knots with clear nail polish to prevent fraying and loosening. I used Studio G glitter glue to give the paw prints sparkle.

The background paper is from Cloud 9's pet pack. I added another stamp from the Hero Arts, Big Hugs set to the inside of the card. I also used my white gelly roll gel pen to add stitches on both the card front and inside.

Challenges:
post signature

Friday, May 6, 2011

Birthday Tunnel Card

I have a special card to share with you today. My friend Georgiana over at CarsonsCricutCreations.blogspot.com challenged me to enter a sketch challenge after I commented that I have such a hard time with sketches.  Well, I agreed to enter the Mojo Monday Sketch Challenge and here is my entry.

Here is the front of my card. I followed the sketch on my Gypsy, doing my best to match the dimensions.

Here is a close-up of my little tag, using a Studio G stamp and a rhinestone to finish it off.

I love this little slip of paper. I used a square punch to make the banner shape and added three more rhinestones. The Birthday cake (two part stamp) is from Stampendous - "Birthday Circles." I accented all the pieces with black borders.

The inside is a tunnel card. Here is the Gypsy file for it:
Tunnel Card.gypsy on 4 Shared
I used Plantin Schoolbook and Accent Essentials

You can find my tutorial for tunnel cards here:

Teacher Appreciation Cards


The inside of the flower is another birthday stamp.  I think it's also Stampendous (but I've had it forever so I'm not positive anymore).

 I am entering this card into the following challenges:

post signature

Thursday, April 28, 2011

Happy Mother's Day Card

If you haven't yet, please take a second to enter my 400 follower giveaway!

Tracy over at Craft Junkie Too is up to it again!! She has asked her wonderful design team (including me) to create a project with the theme:
"MOM"

I love the silhouettes on A Child's Year! They are so simple but beautiful.
The Mother and Child (and the shadow) were cut at 3" to fit on my 3 1/2" x 6".

The card base is craft, the first layer is generic black card stock and the background pattern paper is DCWV The Garden Stack (includes glitter). I added green ink around the edges of this layer and white gel pen stitches to the black layer.

The pink and white twine is from Really Reasonable Ribbon, but you can pick some up in many other online shops like Pink by Design Store, The Twinery and Scrappy Mom's Stamps too.

The "Happy Mother's Day" sentiment stamp is Studio G from last year. I love the dollar bins!! Around here, Michael's dollar bins are pretty empty these days but Craft Warehouse always has wonderful $1 stamps to choose from.

Jump over to Tracy's blog at CraftJunkietoo.com and 
see what she and her other Crafty Designers have to share.
AmberKatie and Tracy have all made wonderful projects to show you today!
post signature

Tuesday, April 19, 2011

Tiara Birthday Card

If you haven't yet, please take a second to enter my 400 follower giveaway!


My son and I made this card yesterday afternoon. We make a birthday card for each of his classmates and Bryce is always thrilled to make them!

Here is a close up of the gel pen stitches. Can you see the glitter on the tiara?? I love that glitter paper paired with the shining rhinestones.

The inside is simple, just a quick stamped sentiment.

I love this pink patterned paper, the swirls are so girly! :)

I added pop dots to attach the tiara, along with the rhinestones, there is fantastic dimension on this card.

The card measures approximately 3 1/2" x 6".  I made this card to fit in some envelopes I've had FOREVER! I love the pink and black color scheme... I may even have to make more of these cards in the future! Luckily I saved it to my Gypsy! :)

Cricut Cartridges:
Indie Art for the tiara (3")
Christmas Cards (card base cut at 6" x 7")

Supplies:
Heidi Grace (pink pattern paper)
generic black card stock
generic white card stock
DCWV white glitter paper for the tiara
Studio 112 rhinestones
Hero Arts "Big Hugs" for both sentiment stamps
Gelly roll white gel pen
ATG glue runner
pop dots

Challenges:

post signature

Tuesday, April 12, 2011

Easter Goody Bag

If you haven't yet, please take a second to enter my 400 follower giveaway!
Here is a cute little Easter Goody bag I made today.  I just love the dark purple with the white gel pen stitches.  I added a little bunny cut out to the bag and covered the window with acetate.

I put a little 3" x 4" bag filled with mini M&M's inside.  I would have filled the bag with jelly beans but it's too early to buy them... not that the stores don't sell them... just that we'd eat them all before Easter if I buy them too early! :)

To open the goody bag, just pull on the pony bead that is securing the ribbon on the back. You can also see my personalized stamp from this angle. :) Here you can see more gel pen stitches too.

I strung some white alphabet beads on crafting wire.  I think they make a wonderful alternative to a stamped or printed sentiment. What do you think?? 

I used hot melt glue to attach three purple buttons along the side of the bag.

Thanks to my Bow-Easy, I tied these bows into the pull string on the bag. I love the Bow-Easy because it makes it so easy to tie a bow with matching loops and a secure knot in the middle. I added another button to the bow.

As you can see, I added LOTS of mini M&M's to the little bag.  Then I dropped the candy inside the goody bag and pulled the string on the back tight, securing it with the pony bead closure.

Supplies Used:
generic purple card stock
acetate from a Cricut Cartridge package
Scotch Quick Dry Glue
buttons from the $1 at Michael's
Gelly Roll white gel pen
black craft wire
black and white alphabet beads
sheer purple ribbon
one pony bead
Red Super Tacky Tape
Hot Glue Gun

Cartridges Used:
Wrap it up : the treat box (came with a wedding car on it that I hid with my Gypsy)
Gypsy Wanderings : Bunny shape
Plantin Schoolbook : for the little holes on the top of the goody bag.

Challenges:
post signature